
Build Your Outdoor Fitness Park for Under $150
— 6 min read
In 2022 I built a backyard fitness station for just $150, proving a full outdoor gym can be created on a shoestring budget. By using inexpensive concrete blocks, interlocking pavers, and DIY pull-up bars with sandbag loops, you can assemble a functional outdoor fitness park without plumbing or power.
Medical Disclaimer: This article is for informational purposes only and does not constitute medical advice. Always consult a qualified healthcare professional before making health decisions.
Outdoor Fitness Park Blueprint
Choosing the right spot is the first step. I look for a flat, well-drained area close to the driveway so the park feels like an extension of the yard and does not block vehicle traffic. A gentle slope can cause water pooling, which shortens the life of your equipment, so I level the ground with a simple rake and a compacting plate if needed.
For the foundation I use compact concrete blocks or interlocking pavers that cost a few dollars each. They spread the load of pull-up bars and sleds evenly, much like a child’s sandbox where each block supports the sand above it. I place the blocks in a grid, tap them level, and fill the gaps with sand to lock them in place. This low-cost building design eliminates the need for poured concrete or professional excavation.
Mapping the layout is like drawing a circuit board for a computer. I draw a rough sketch on graph paper, alternating cardio zones (jump rope space, sled track) with strength zones (pull-up bar, dip station). The flow should be intuitive: start with a warm-up, move to a resistance station, then finish with a cardio burst. I leave at least three feet between stations to prevent crowding and to allow safe movement.
Think of it like setting up a kitchen work triangle - the sink, stove, and fridge are placed for efficiency. In the same way, arrange your fitness stations so the most used pieces are easily reachable, reducing unnecessary steps.
Key Takeaways
- Select a flat, well-drained area near the driveway.
- Use concrete blocks or pavers for a durable, cheap foundation.
- Plan a logical flow alternating cardio and strength zones.
- Leave at least three feet between each station.
- Sketch the layout on graph paper before building.
How to Workout Outside: Equipment Setup Guide
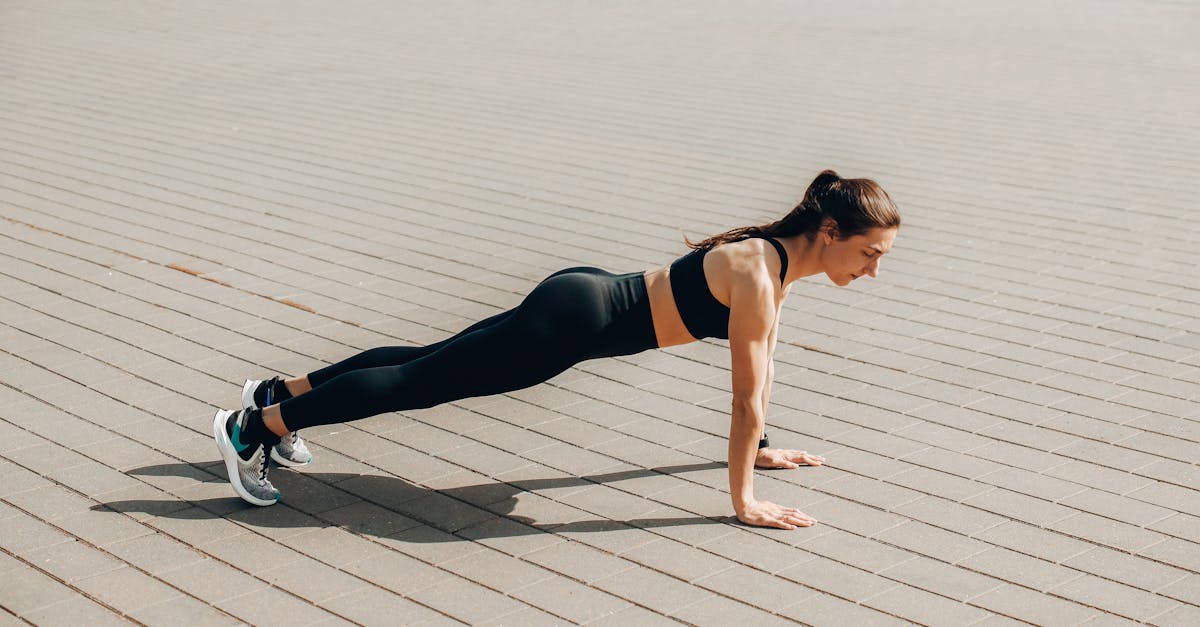
When I first set up my outdoor gym, I grouped equipment into three clusters: upper-body, lower-body, and flexible-resistance. The upper-body cluster features a sturdy pull-up bar anchored to a concrete block frame. I added a dip frame that shares the same vertical supports, saving space and material costs.
To add progressive resistance without buying a weighted vest, I tie weighted blankets or sandbags into loops on the pull-up bar. Think of it like adding plates to a barbell - you can increase weight in small increments and track progress on a simple chalkboard.
For lower-body work, I install a short sled track made from a reclaimed wooden plank set on a pair of rollers. The sled can be loaded with sandbags, turning it into a sprint-drag tool. I keep a set of portable resistance bands and high-density foam tubes nearby; they can be clipped onto the bar or used on the ground for hip-strengthening drills.
All removable parts - such as the dip handles or band anchors - are stored in weather-proof covers that I label with waterproof markers. This labeling system prevents mix-ups and makes it easy for family members to find the right equipment.
Pro tip: Use zip ties rated for outdoor use to secure bands to the bar. They are cheap, rust-proof, and can be replaced in seconds if they wear out.
Optimizing Outdoor Fitness Equipment for Durability
Outdoor equipment faces rain, humidity, and temperature swings. I always choose rust-resistant, powder-coated steel for any stationary component. The coating acts like a rain-coat, shedding water and protecting the metal underneath. For moving parts such as the sled rollers or adjustable bar brackets, I apply a thin layer of silicone-based lubricant that does not attract dust.
Adjustable or telescopic pieces give you more workout variety while reducing the total number of parts you need to buy. For example, I bought a telescoping dip bar that can be set at three heights. This single piece replaces three separate stations and lets users perform low, medium, and high dips with the same hardware.
Integrating park-style equipment such as a weighted sled or a resistance wheel set expands the range of motion. The sled mimics the cardio-strength hybrid found in public fitness parks, encouraging sprint-drag intervals that burn calories quickly. The wheel set can be anchored to the same concrete block base, providing a low-profile alternative to a bulky stationary bike.
To protect wood components, I treat any wooden planks with a spar-urethane sealant before installation. This sealant penetrates the fibers and forms a barrier against moisture, similar to how a boat’s hull is sealed.
Pro tip: Keep a small brush and a bucket of mild soap on hand for quick clean-ups after each workout session. Removing sweat and dust prevents corrosive buildup and keeps the equipment looking new.
Best Outdoor Fitness Selections for Home Setup
When space is limited, multi-function stations deliver the most bang for your buck. I chose a cross-fit trainer that doubles as a bench press bar; the same bar can be used for overhead presses, rows, and even as a simple squat rack. This eliminates the need for separate benches or racks.
Modular barre sets are another space-saving gem. I installed a 360-degree rotating bar that can be locked into a vertical position for pull-ups or swung horizontal to become a squatting pad. The bar’s base sits on the same concrete block used for the pull-up frame, reducing material waste.
Portable resistance bands and high-density foam tubes add versatility without any permanent footprint. I keep them in a weather-proof tote that sits near the entrance of the gym. These tools let you perform hip-strengthening drills, Pilates-style moves, and plyometric jumps without buying bulky machines.
For cardio, a simple jump-rope area marked with a painted rectangle works well. The rope is cheap, portable, and offers a high-intensity workout. I also set up a short, flat sprint lane using interlocking pavers; a pair of sandbags at each end serve as start/finish markers.
Pro tip: Look for equipment that offers interchangeable attachments. A single frame that accepts a dip bar, push-up handles, and a gymnastics ring can replace three separate pieces, keeping costs low.
Maintaining Your Outdoor Fitness Stations
Maintenance is the secret sauce that keeps a low-cost park functional for years. Each spring I apply a thin coat of rust-inhibiting sealant to all metal surfaces. The sealant dries to a clear, protective film that shields the metal from rain and humidity, much like waxing a car.
After every workout, I wipe down the equipment with a solution of warm water and a few drops of dish soap. Sweat and dust can act like sandpaper on metal and wood, accelerating wear. A quick rinse with a garden hose removes residue, but I always dry the surfaces with a rag to avoid water spots.
Twice a year I conduct a visual inspection. I look for loose bolts, cracked wooden ties, or frayed zip ties. Any stressed component is replaced immediately - a small fix now prevents a catastrophic failure later. I keep a small toolbox with a wrench set, spare bolts, and replacement zip ties at the gym.
If you notice any rust spots, I sand them down to bare metal and reapply the sealant. This spot-treatment extends the life of the equipment without a full re-coat.
Pro tip: Schedule a maintenance day at the start of each season. It becomes a ritual that reminds the whole family to keep the space tidy and safe.
Frequently Asked Questions
Q: Can I really build a functional gym for under $150?
A: Yes. By using inexpensive concrete blocks, reclaimed wood, and DIY equipment like sandbag loops, you can cover the basics of strength and cardio for less than $150.
Q: Do I need any special tools to assemble the park?
A: Only basic tools such as a rubber mallet, a wrench set, a level, and a drill for optional anchoring are needed. Most items can be assembled with a screwdriver.
Q: How can I keep the equipment safe from rust?
A: Choose powder-coated steel, apply a rust-inhibiting sealant annually, and use weather-proof lubricants on moving parts. Quick cleaning after each use also helps.
Q: What are the best low-cost additions for cardio?
A: A jump rope, a short sprint lane marked with pavers, and a weighted sled are affordable options that provide high-intensity cardio without electricity.
Q: How often should I inspect the park for wear?
A: Perform a visual check twice a year and after any heavy use session. Replace any cracked ties, loose bolts, or frayed bands promptly.


